If you are reluctant to try over-the-air (OTA) TV because you want to watch your favorite shows on your own time, you’ll be happy to learn that it is possible to record free over-the-air television. Moreover, if you have an antenna and an OTA DVR, you can not only record and rewatch movies and shows but even pause and rewind live TV.
Pair Your Antenna With An OTA DVR To Record Your Favorite Shows
A DVR or digital video recorder is a device that records and stores video content. Because they record and store video digitally, DVRs do not require removable media, such as DVDs or CDs. Standalone DVR units store videos on a hard drive. There are also cloud DVR services that maintain recordings on the service provider’s remote server.
Before you rush out to buy the first DVR you can find, it’s vital to understand what is required to record over-the-air television. Not every DVR is compatible with TV antennas. Others are compatible but can be challenging to set up.
Some DVRs have multiple tuners, which means you can record numerous programs simultaneously, even while watching something else. Some OTA DVRs include internet connectivity using either Wi-Fi or Ethernet, which allows you to stream recorded video to other devices and cloud storage. In addition, these DVRs often have apps for phones and other devices so that you can access recordings remotely.
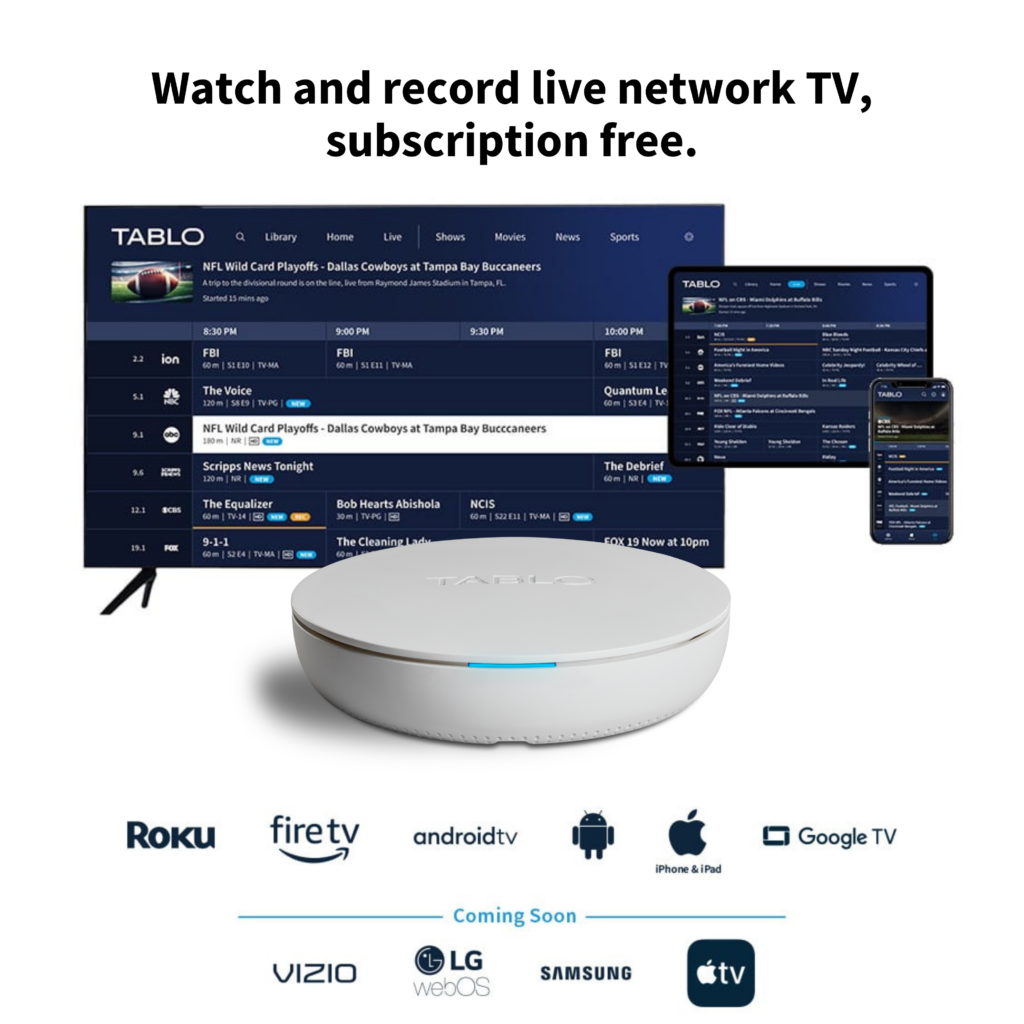
- Tablo 4th Generation OTA DVR (2-Tuner model, no antenna): Watch and record up to two shows/channels from your HDTV antenna simultaneously. Included with the one-time purchase is the ability to record up to 50 hours of shows, a 14-day TV guide and an additional 60+ free streaming channels through the TabloTV app. The purchase price is around $99 and you can buy on the TabloTV.com website, Amazon.com, Walmart.com and BestBuy (online or in store).
- Tablo Total System, 4th Generation OTA DVR (2-Tuner model, with antenna): Same bells and whistles as the above 4th gen model, plus a 35-mile indoor antenna is included in the package. The purchase price is around $109 and you can get it on the TabloTV.com website, Amazon.com, and HSN.com.
- Tablo 4th Generation OTA DVR (4-Tuner model, no antenna): Same bells and whistles as the above 2-Tuner models, but you can watch and record up to four shows/channels at once. The purchase price is around $139 and you can currently buy the 4-Tuner on the TabloTV.com website and BestBuy (online or in store).
If you have an external hard drive sitting at home collecting dust, consider adding it to your Tablo set up to record even more shows. Simply connect your antenna and portable hard drive to a Tablo device and you’re ready to go.
If you want to purchase a portable hard drive for more recording capacity, Tablo recommends USB-connected portable hard drives (USB 2.0 or 3.0, 1 TB to 8 TB in size). These are the ones their team recommends: WD 1TB Elements Portable External Hard Drive and the WD 2TB Elements Portable External Hard Drive.
Other OTA DVR Options
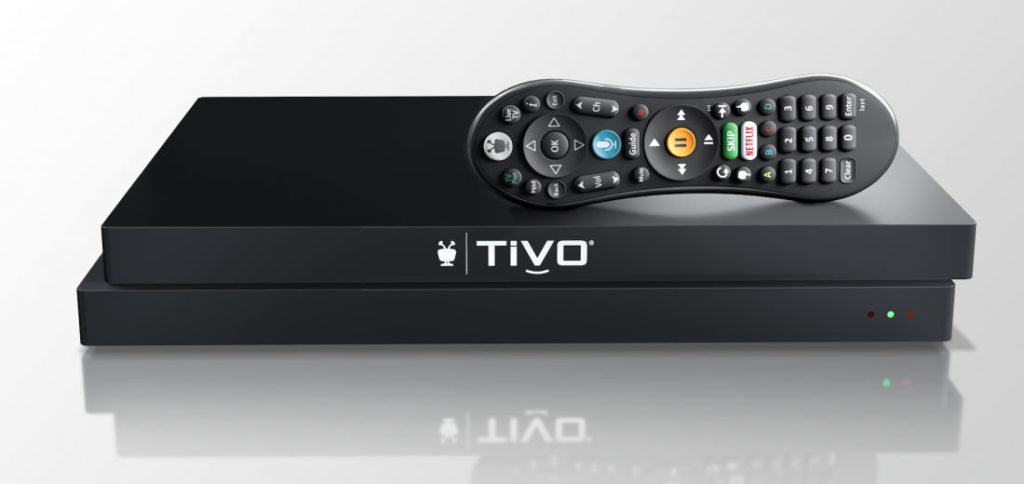
OTA DVRs may also offer subscription software for channel guides and to access recordings. For example, the TiVo EDGE for Antenna offers a monthly, yearly or lifetime service plan. These plans include features such as updated TV guide information, the ability to record programs, updates to the User Interface, SkipMode, Multi-Room Streaming/Viewing and more. This DVR will record two shows at once and store 500GB for up to 75 HD hours.
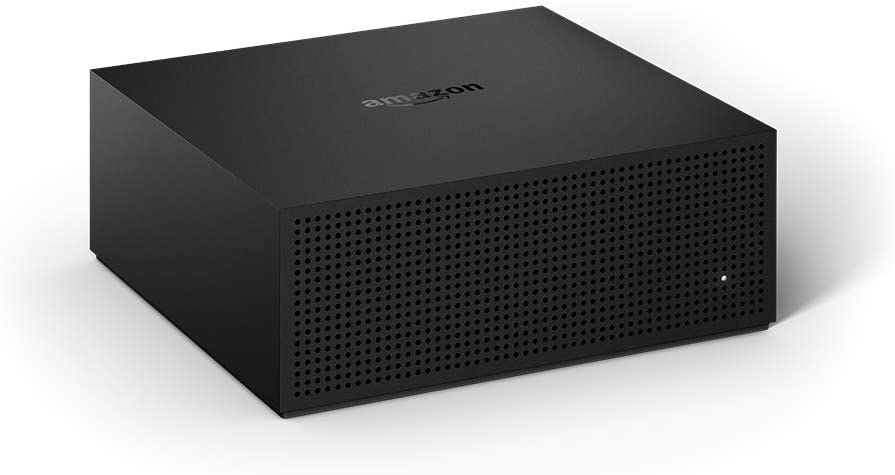
You can even find DVRs compatible with virtual assistants, such as Amazon Alexa or Google Voice, such as the Amazon Fire TV Recast DVR. With this DVR, you can record up to two shows at once, store up to 75 hours of programming and use your voice to search for shows, control the channel guide and manage recordings with a compatible Amazon-branded Alexa-enabled device.
OTA DVRs can range in price from less than $50 to more than $200. When determining your budget, also consider other costs such as software or cloud storage service fees, as these will increase the overall cost of the DVR.
Thinking about how you plan to use the DVR, how many shows you may wish to record or watch simultaneously, whether you want to access recordings on other devices and how much you would like to spend will help you select the best device for your needs.
OTA DVR Setup
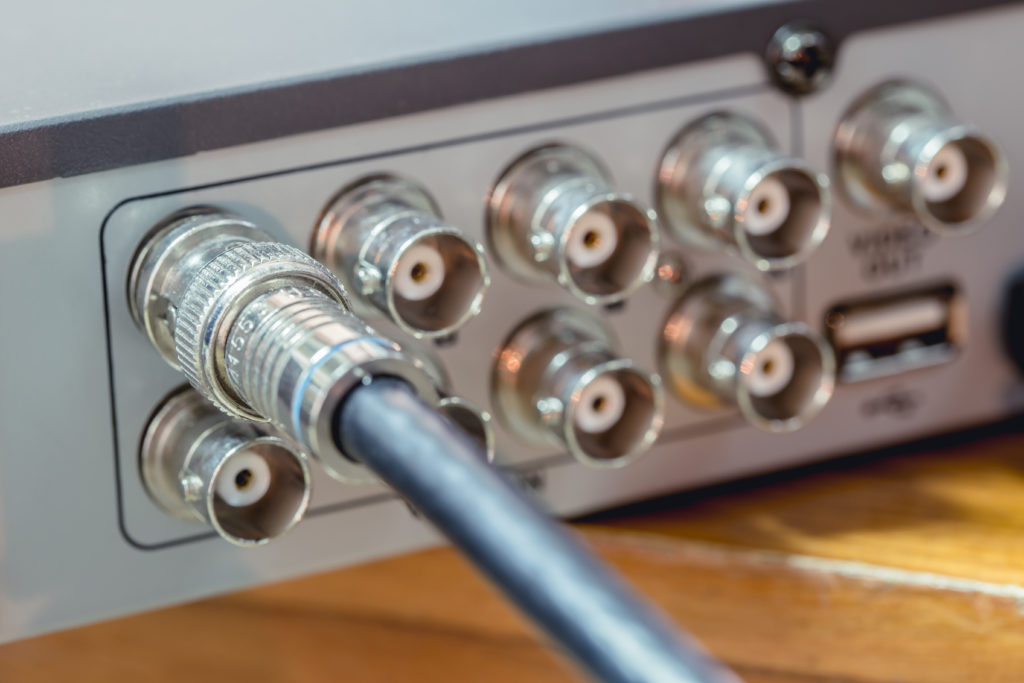
While the setup instructions will vary among DVR brands, there are basic steps that will get you on the way to recording over-the-air television. First, connect the DVR to the antenna. Most antennas will include a coaxial cable for this purpose. If not, you will need to obtain one. Next, attach one end of the cable to the DVR’s RF coaxial input port and the other to the antenna.
If the DVR model requires a USB hard drive, insert this next. Then, use an Ethernet cable if you are connecting the DVR to your internet router.
Connect the DVR to your television next. Most often, you will use a provided HDMI cable, but some older models may use an RCA cable. If you are using an HDMI cable, connect one end to the output port on the DVR and the other to any HDMI port on the TV. If you are using an RCA cable or an HDMI-to-RCA cable, connect it to the DVR output and insert the connectors into the three corresponding-colored jacks on the back of the TV.
Finally, connect the power adapter and then insert the batteries into the included remote.
Recording, Playback And More
Reading the specific instructions for your DVR is imperative, as the features and functions can vary significantly among brands and models. However, after the initial setup, you should be able to begin using your OTA DVR right away.
Most DVR remotes have a Record or REC button. To record the show you are currently watching, press this button. If you started watching the show from the beginning, most DVRs will record the entire program even if it has already begun. However, you may have to start recording within a set amount of time, such as 30 minutes into the show.
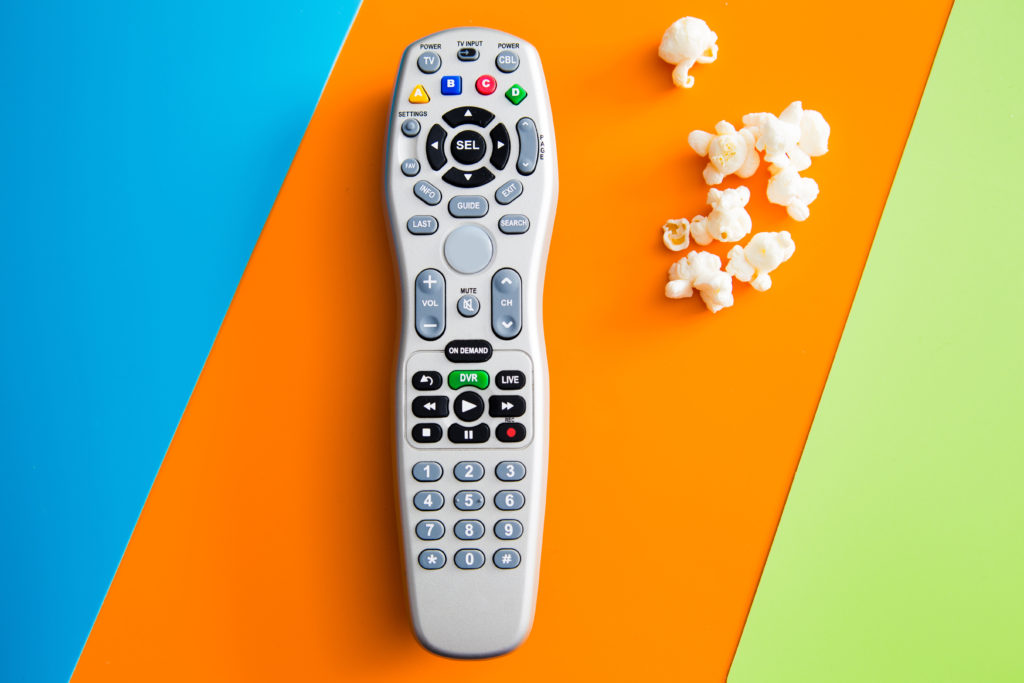
You can usually pause or rewind any show you are watching, even if you are not recording it. After pausing or rewinding, you may also be able to fast forward to the current point in the program or press a Live button that takes you to it. You can also pause, rewind and fast forward recorded videos.
The number of hours you can record and the length of time you can store them will depend on the DVR. Some will automatically delete old recordings to make room for new ones. Others might delete recorded videos after a specific amount of time. Of course, you can also delete recordings manually.
With the right DVR, you can record all of the over-the-air broadcasts you want to watch and view them at your convenience.
How To Switch To OTA TV
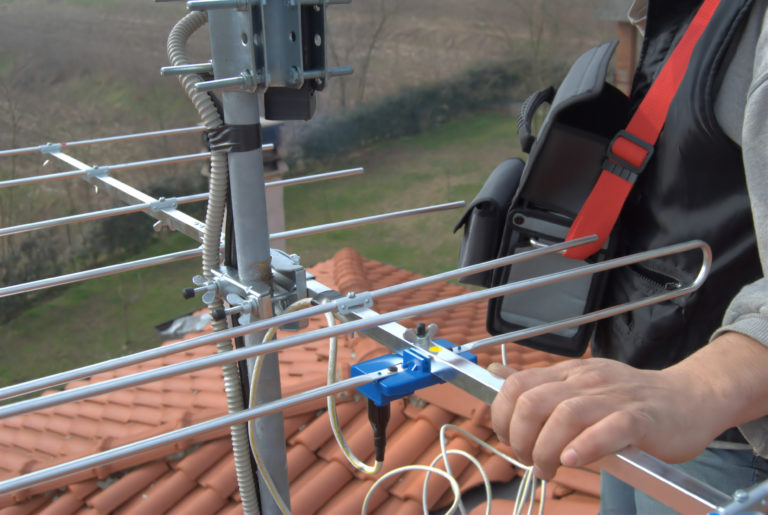
If you don’t yet have a TV antenna, getting started watching free over-the-air TV is pretty straightforward. First, you will need to buy an antenna. You can check the Federal Communication Commissions’ DTV Reception Maps to discover the stations you should be able to view and how strong the signals should be. You can decide whether you need an indoor or outdoor antenna, depending upon where you live (rural homes may do better with an outdoor, directional antenna, while urban and suburban ones should be fine with an indoor, omnidirectional model).
If you aren’t sure what you need, take our short quiz to find out which antenna is best for you.
Once you purchase the best antenna for your setup, connect it to your current television. Next, perform a channel scan on your TV to find stations and, if necessary, adjust the position of the antenna and rescan until you’re happy with the reception you’ve got.
If you live in an urban area or nearby suburb:
Antennas Direct ClearStream Eclipse Amplified TV Antenna
$64.99 from Amazon
This highly-rated indoor antenna is designed to receive frequencies 50+ miles away from broadcast towers. It easily grips smooth surfaces like walls or windows for optimal placement to pick up as many channels as possible.
![]()
Recommended antenna if you live in a far suburb or rural area:
Antennas Direct ClearStream 4V TV Antenna
$130.20 from Amazon
This powerful antenna has a range of 70+ miles and can be installed inside, outside or in the attic. It has UHF and VHF multi-directional elements designed to deliver reception in remote areas.
![]()